Learn how to screenshot all of your adventures on Nintendo Switch
- okt
- 10
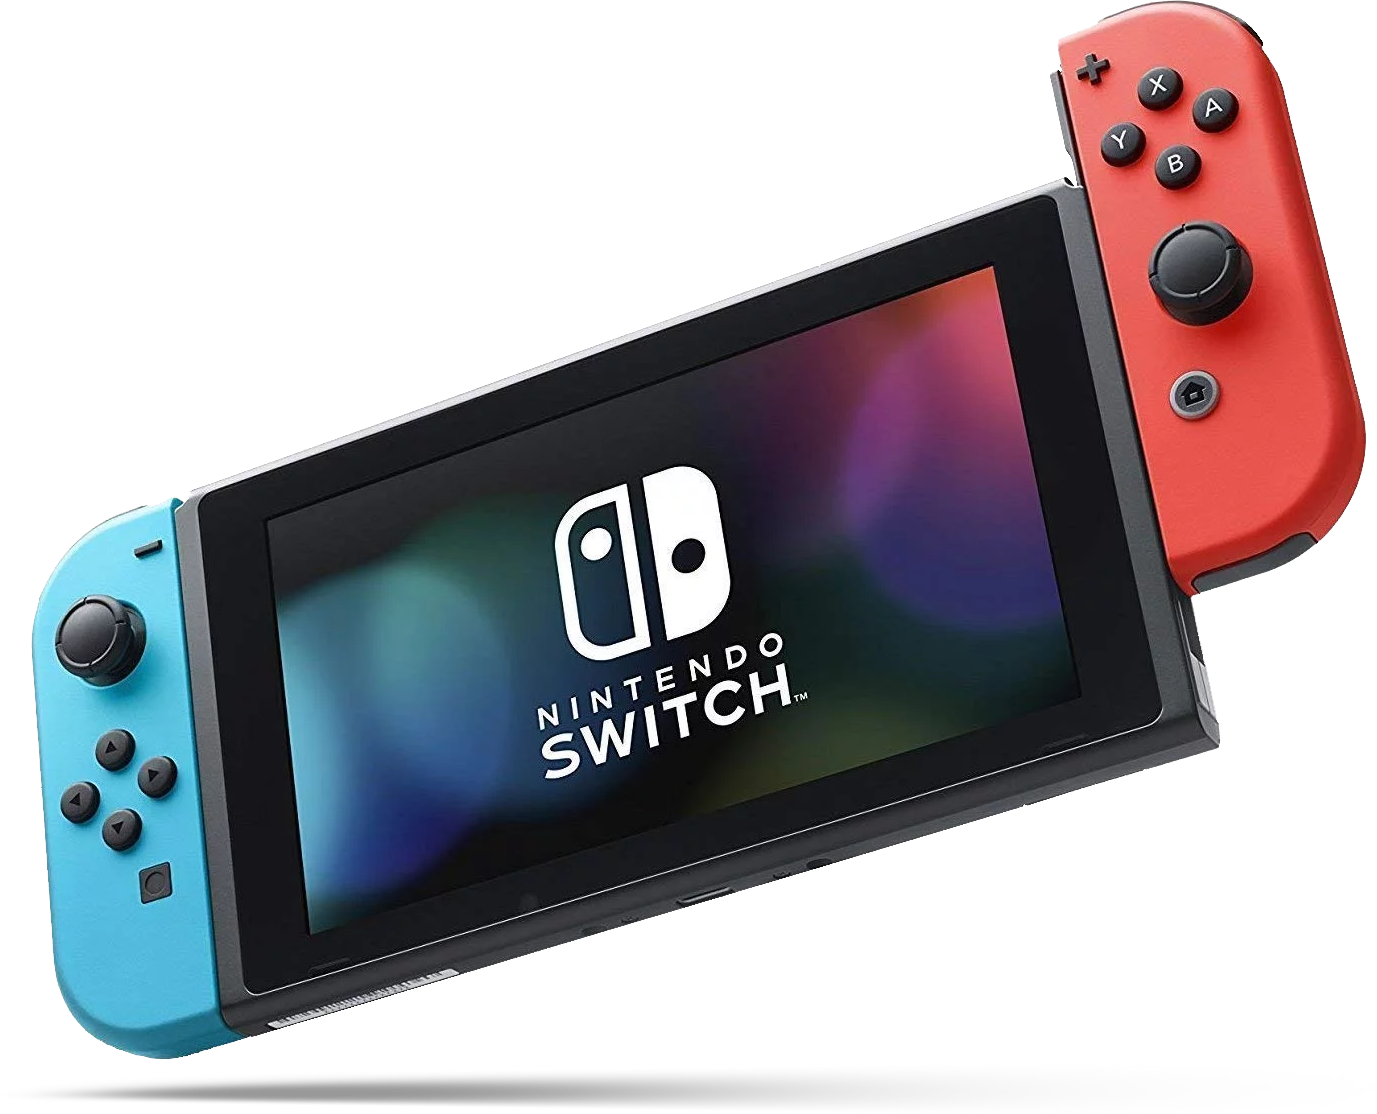
How do I take a screenshot on my Nintendo Switch? Your left Joy-Con has the answer!
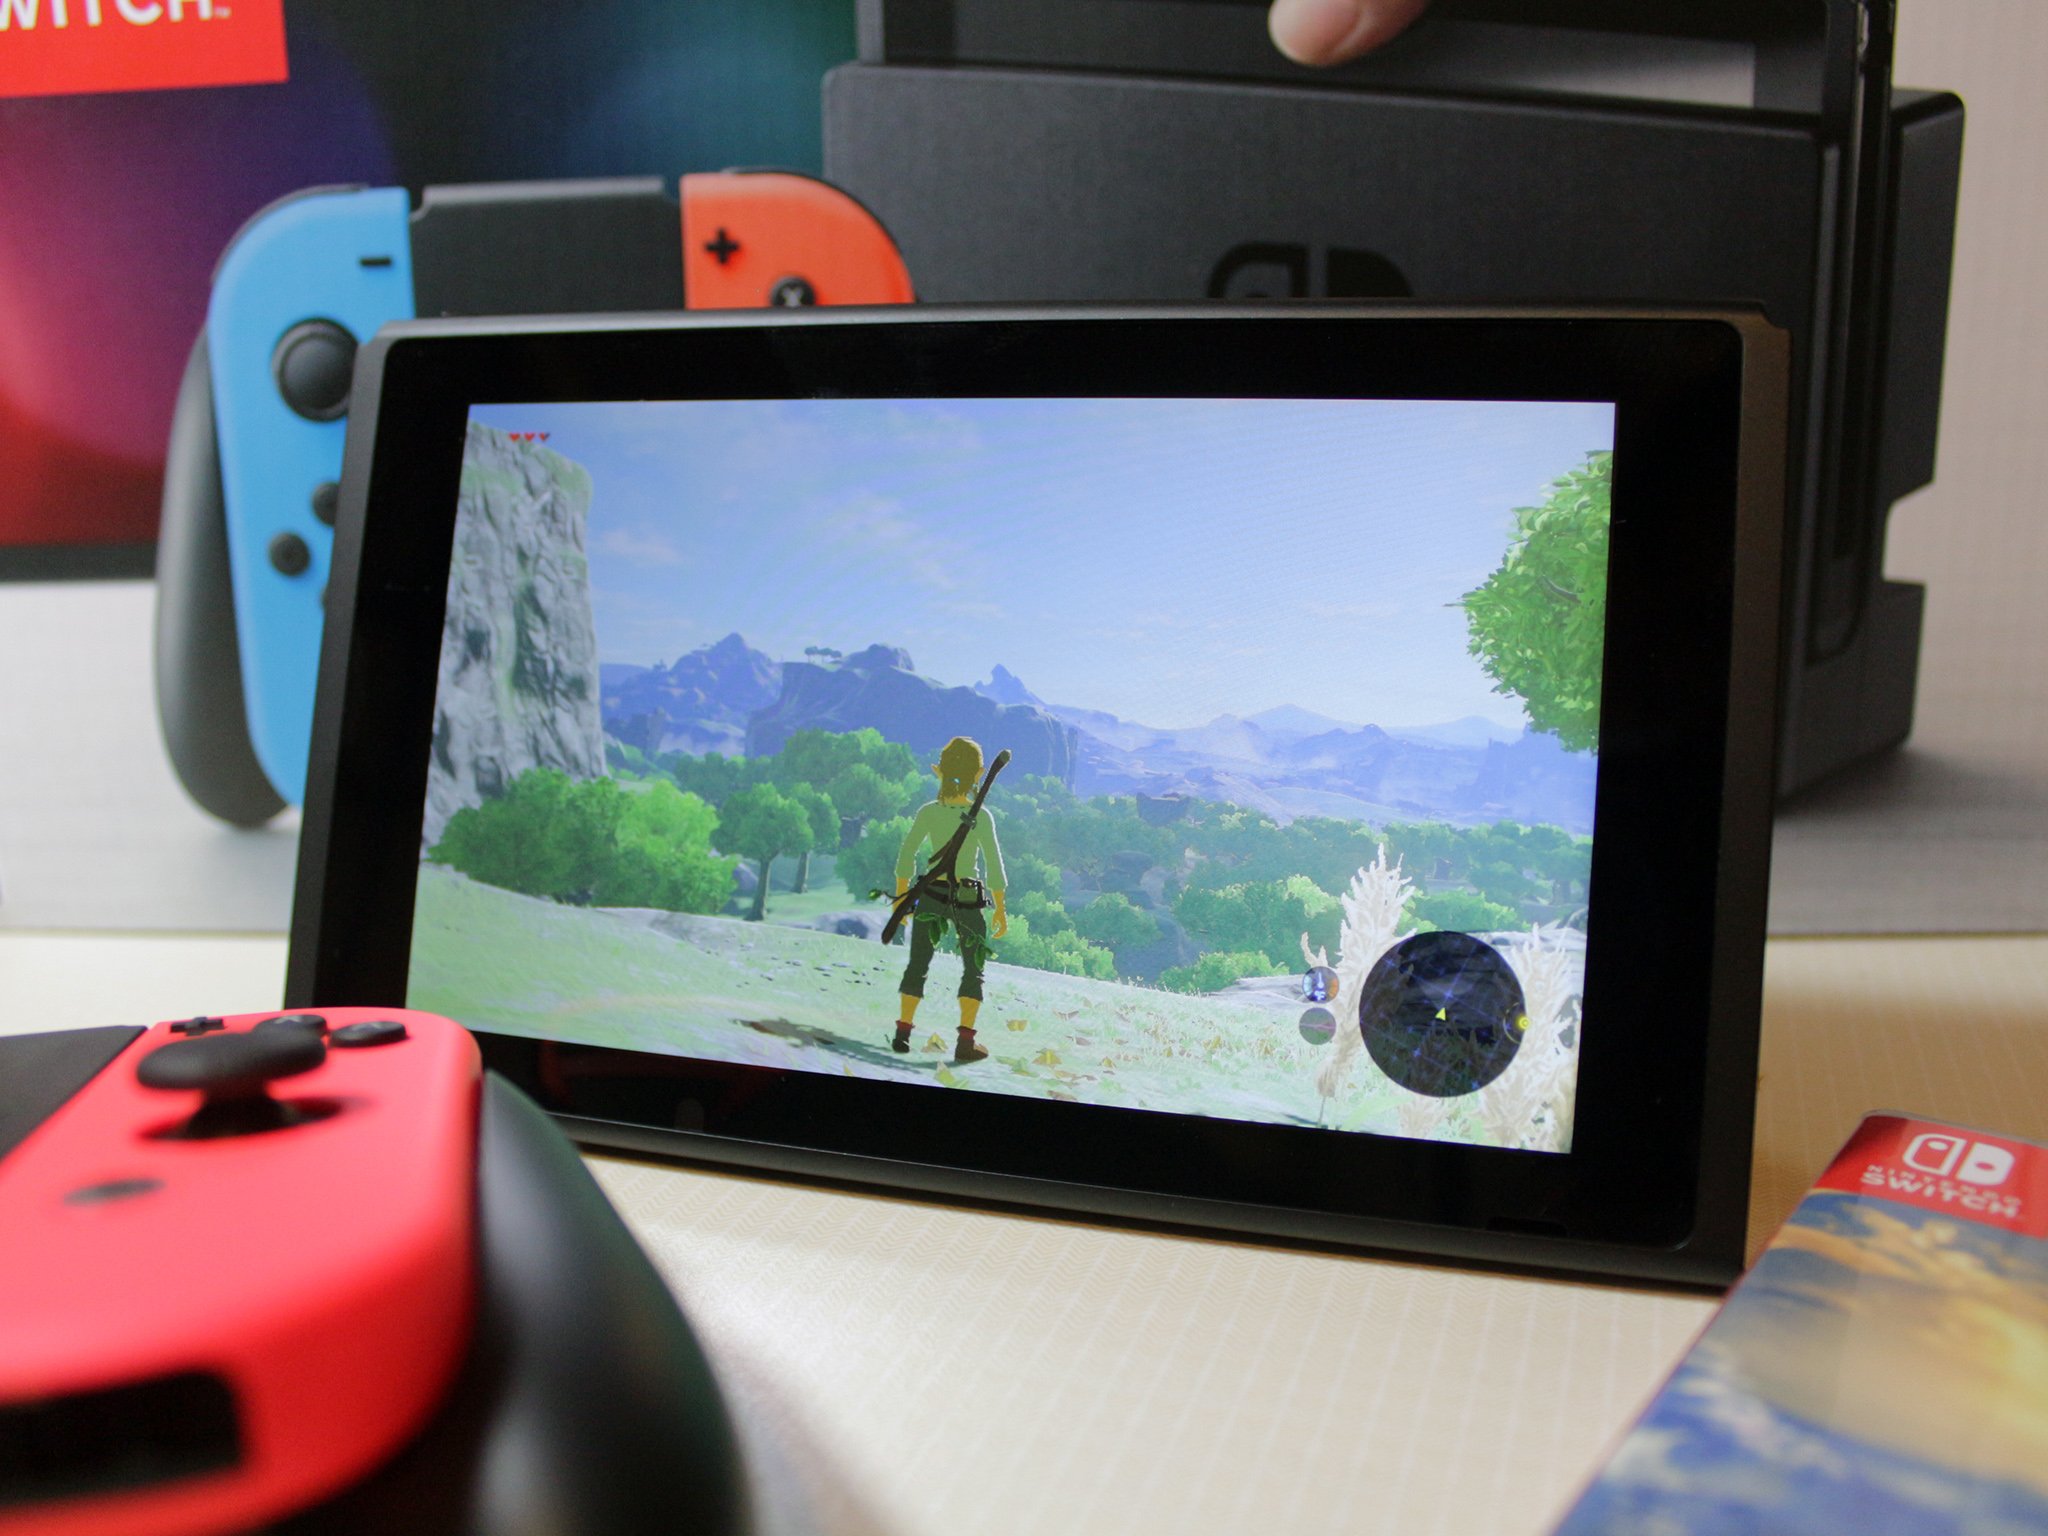
You're roaming through the beautiful landscape of The Legend of Zelda: Breath of the Wild (which is one of the best Nintendo Switch games you can buy) and you come across a breathtaking scene. So what are you going to do? Take a screenshot on your Nintendo Switch of course! Whether you take screen captures of your progress, cool game visuals, or would like to save an image for later—it's a great way to share some of your favorite in-game memories. Here's a guide on how to take all the screenshots you want and also how to manage them in your photo album on the Nintendo Switch menu. Let's get started!
How to record and edit video gameplay on Nintendo Switch
As of OS version 4.0 on Nintendo Switch, you can also record, edit, and share video gameplay in some games. For now, the official Nintendo site only lists a few games as compatible with video gameplay recording, but it seems to be supported on other titles not listed.
How to record and edit video gameplay on Nintendo Switch
How to take a screenshot on Nintendo Switch with the Joy-Con Controllers
The Nintendo Switch Joy-Con controllers have a dedicated screenshot button, which makes capturing a screenshot a one step process. The square button is located on the left Joy-Con and it's the closest to the bottom of the controller (see picture below).

Once you have pressed the button, you'll hear a camera shutter sound, and a notification in the top left corner of your screen will say "Capture Taken".
How to take a screenshot on Nintendo Switch with the Pro Controller
If you're a fan of the slightly larger and more conventional Pro Controller, you can still take screenshots by pressing one button. The square button is located just left of center on the Pro Controller right above the directional pad and underneath the "-" button (see picture below).
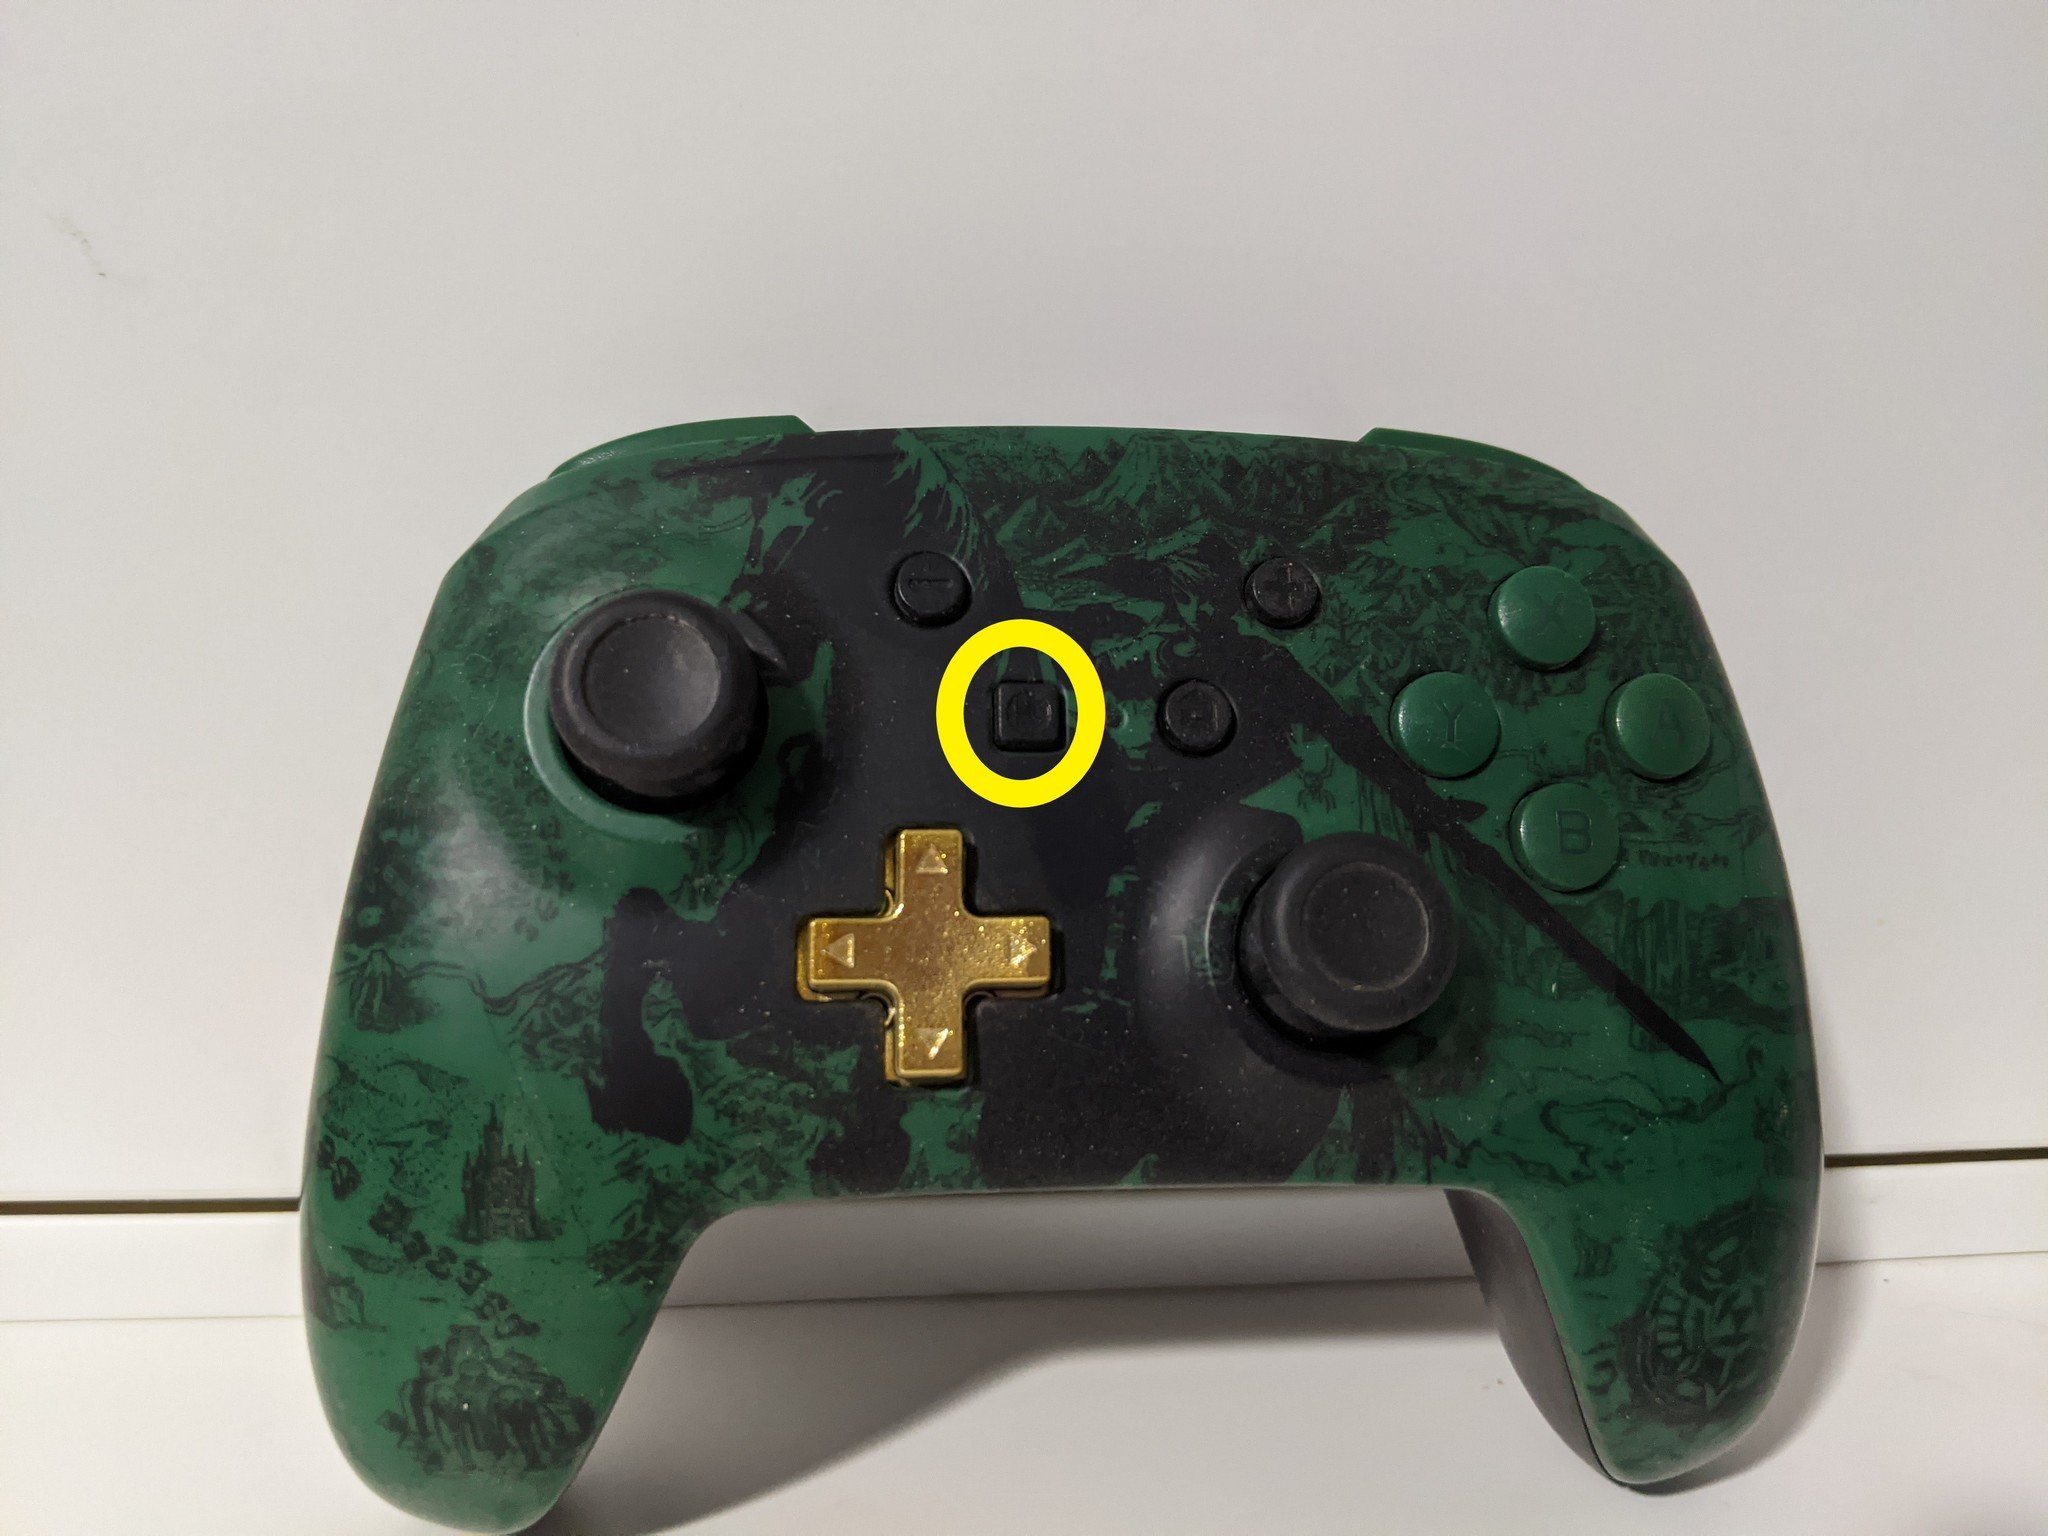
Just like with the Joy-Con Controllers, you'll hear a camera shutter sound and see the "Capture Taken" notification in the top left corner of the screen.
How to view your screenshots and videos on Nintendo Switch
All of your screenshots, whether they are saved to the system memory or a microSD card can all be found in the Album in the switch menu.
- Navigate to the Album button on your Home screen.
Press the A button to open.

All of your screenshots on Nintendo Switch are displayed here.
How to filter your Album by videos or screenshots only
Now that you have two different types of media in your Album folder, you can filter the types to make it easier to find what you're looking for.
- Select the Album button on your Home screen on Nintendo Switch.
- Select Filter or press the Y button.
- Select which filter you want to use. You can filter media types by the following:
- Screenshots Only
- Videos Only
- System Memory
- microSD Card
- Media from a specific game
- Other (like system screenshots)
If you want to start your search over, you can clear the filter by selecting Clear Filter or pressing the B button.
How to copy a screenshot or video to a microSD card on Nintendo Switch
If you have a screenshot that was saved to your system memory that you would like to copy onto your microSD card, you can do so in the Album menu.
- Navigate to the Album button on your Home screen.
- Press the A button to open.
- Select the screenshot or videoyou want to copy.
- Press the A button to get to the Editing and Posting menu.
- Select Copy
- Select Copy again.
- Select OK.
You'll now have two copies of that particular screenshot or video — one on your system memory and one on your microSD card.
How to copy all screenshots and videos to a microSD card on Nintendo Switch
If you want to transfer all your screenshots from your system memory to your microSD card, you don't have to do it all one at a time! Hallelujah, you can do the all at once in the system settings!
- Navigate to the System Settings button on your Home screen.
Press the A button to open.

Select Data Management from the menu.
Select Manage Screenshots and Videos.


Select System Memory.

Select Copy All Screenshots and Videos to microSD Card.

How to delete screenshots and videos on Nintendo Switch
Once you don't need a screenshot or video anymore, you can delete them at any time.
- Navigate to the Album button on your Home screen.
Press the A button to open.
Navigate to the screenshot or video you want to delete.
Press the X button.
Select all screenshots and videos you want to delete.
- Select Delete.
How to delete all screenshots and videos from the system memory on Nintendo Switch
If you want to delete all your screenshots from your system memory, you don't have to do it all one at a time! Hallelujah, you can do the all at once in the system settings!
- Navigate to the System Settings button on your Home screen.
Press the A button to open.
Select Data Management from the menu.
Select Manage Screenshots and Videos.
Select System Memory.
Select Delete All Screenshots and Videos From System Memory.

How to delete all screenshots and videos from a microSD card on Nintendo Switch
If you want to delete all your screenshots and videos from your microSD card, you don't have to do it all one at a time! Hallelujah, you can do the all at once in the system settings!
- Navigate to the System Settings button on your Home screen.
Press the A button to open.
Select Data Management from the menu.
Select Manage Screenshots and Videos.
Select MicroSD Card.

Select Delete All Screenshots and Videos From microSd Card.
Need to know anything else about screenshots or videos?
Let us know in the comments below if you have any questions about how to do screenshots on Nintendo Switch!
Updated September 2020: Updated with proper imagery.
Get More Switch
Nintendo Switch