
How to replace a tempered glass screen protector
- jun
- 17
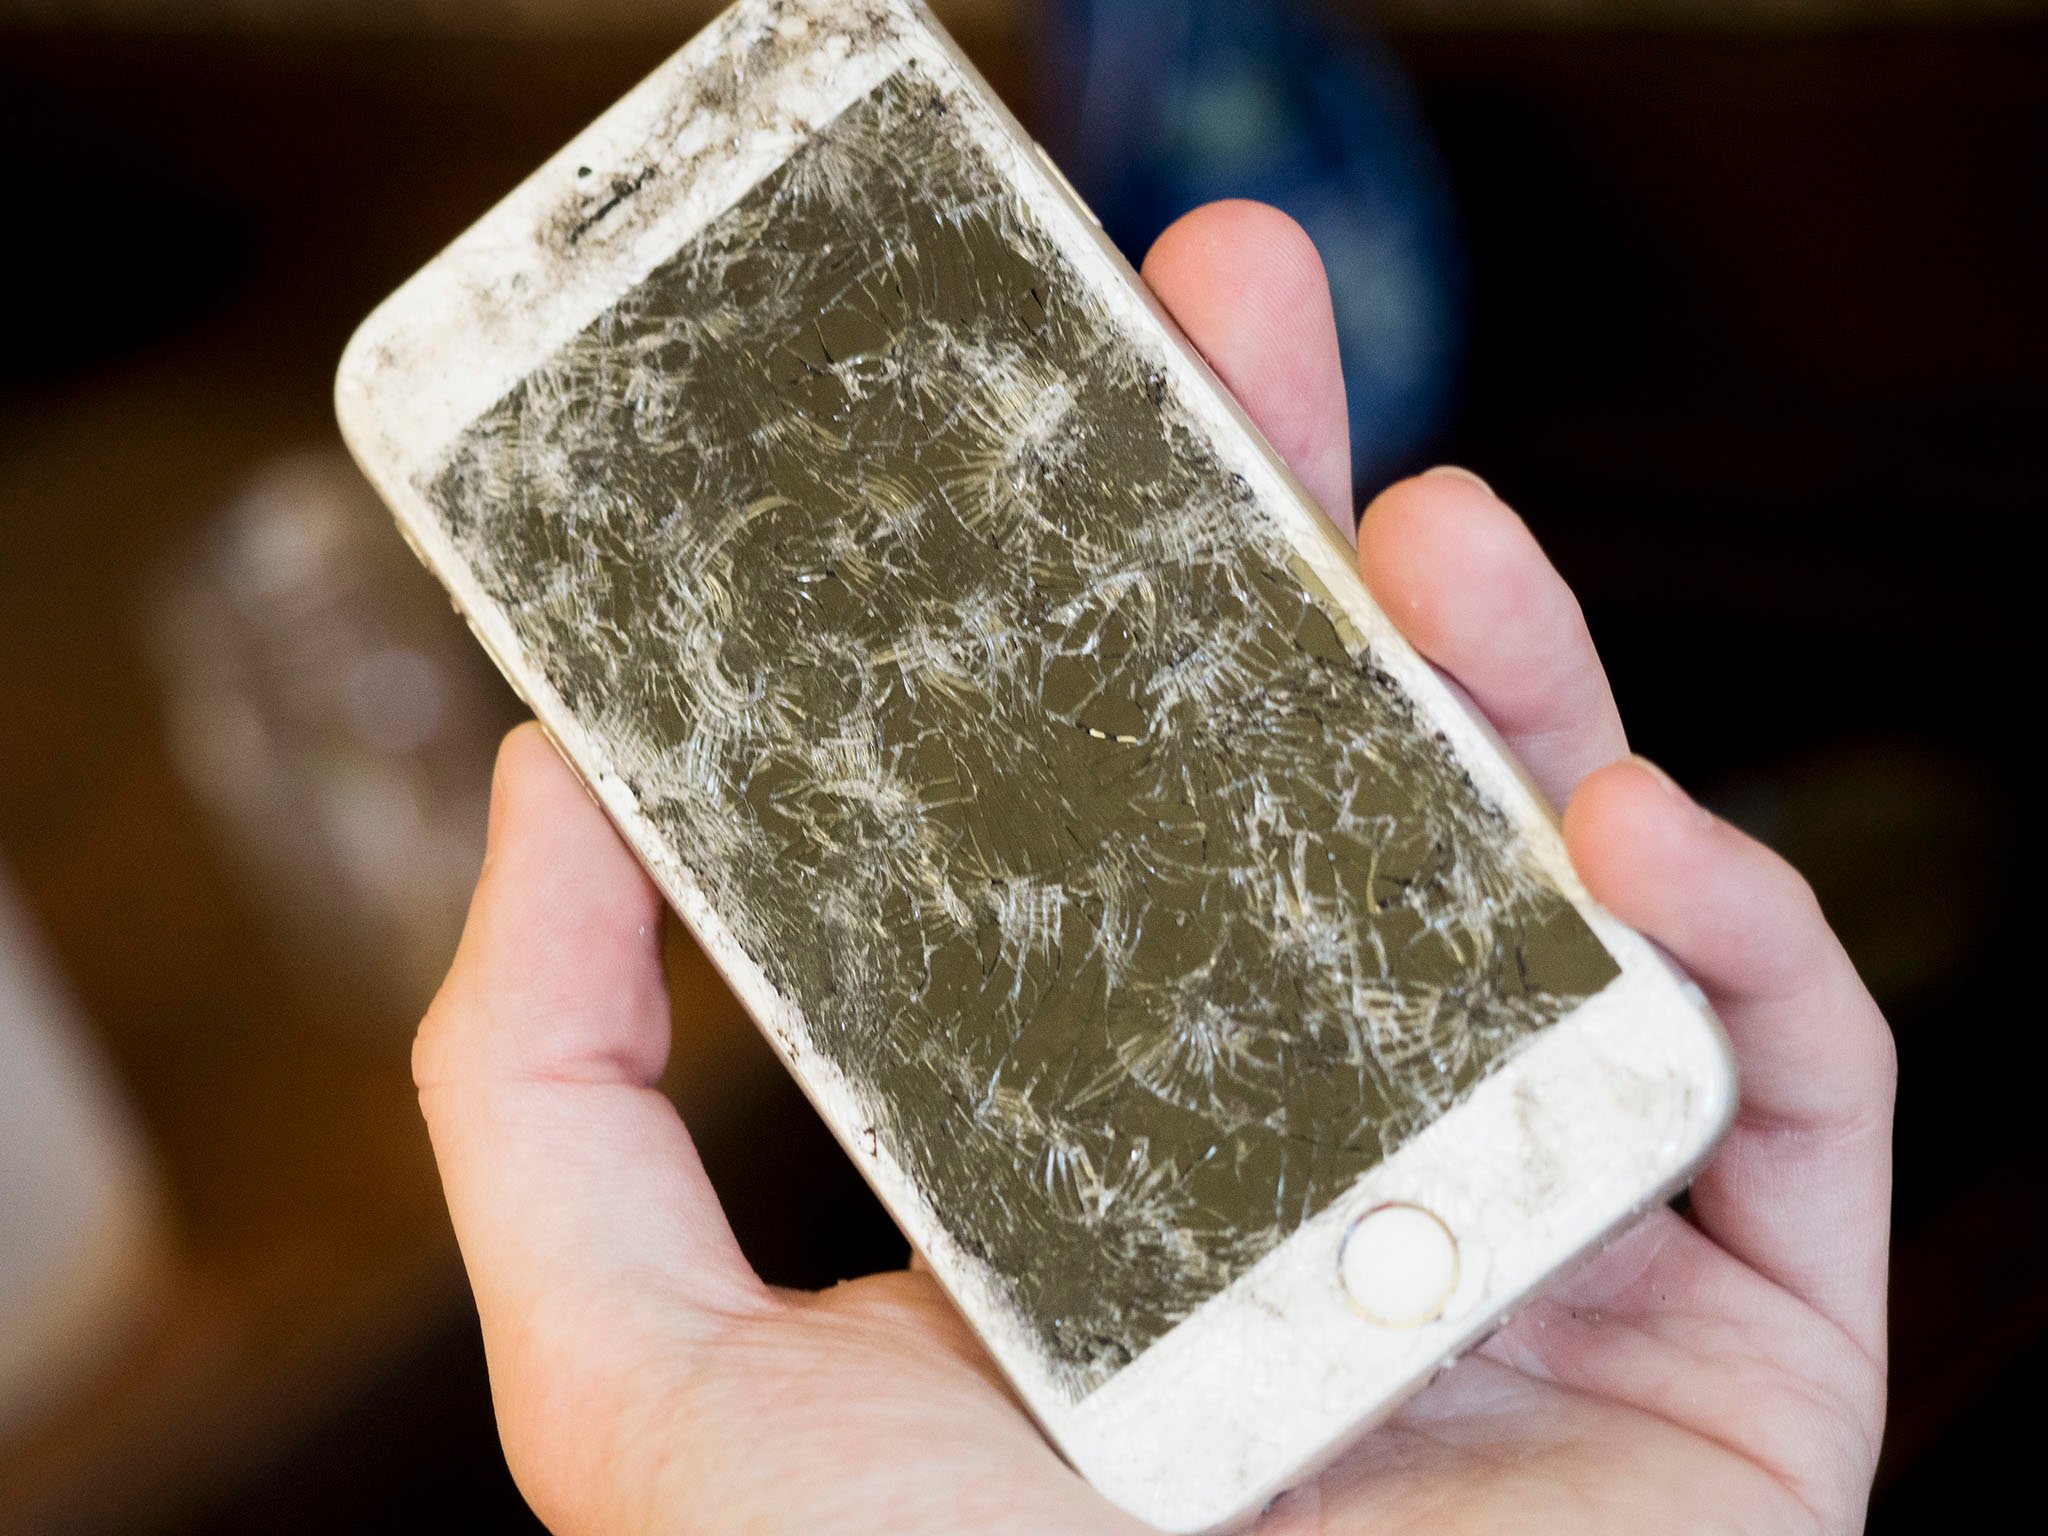
Tempered glass screen protector cracked or lifting? Replace it!
If you have a crack in your tempered glass screen protector, then it's done its job. It's taken the lumps so that your iPhone or iPad's screen didn't have to. Once a tempered glass screen protector has a crack in it, it's exponentially less effective – you should replace it.
Here's how to replace yours so that your iPhone or iPad's screen remains soundly protected.
- Removing your old tempered glass screen protector
- Installing your new tempered glass screen protector
Removing your old tempered glass screen protector
There are a few ways to remove your busted tempered glass screen protector and the one you use will depend on just how well-attached the protector is to your screen.
Before you start, use a hair dryer on low on your screen for about 15 seconds. This should slightly heat up and loosen the adhesive on the screen protector. Do not overdo this part.
Method 1
Before getting out your toolkit and working on your iPhone or iPad like it's one of Frankenstein's creations, try removing the screen protector with your fingernail.
- Start by trying to lift the screen protector up from each corner. One of them's gotta give!
- Once it starts coming up, stop pulling from just the corner and move further along the protector as it starts to peel off. This will help prevent it from falling to pieces before you can get it all the way off.
- Pull slowly and evenly; otherwise, you'll have a jigsaw puzzle of tempered glass pieces to clean up.
Method 2
- Try using a toothpick to pry up one of the corners. Make sure you point the sharp end up toward the screen protector as you do this and not down toward the screen.
- Once you can get a corner up, pull with your fingers, once again pulling slowly and evenly.
- If you can, slide a credit card into the gap and slowly push it along so as to lift the screen protector.
Method 3
Try some duct tape!
- Roll a piece of duct tape around two of your fingers with the sticky side out.
- Start in a corner and press the duct tape onto it, rolling away from corner slowly. Hopefully, the duct tape will adhere to the screen protector and you'll be able to pull it up and off.
Installing your new tempered glass screen protector screen protector
It's hopefully been a long time since you've had to install a tempered glass screen protector, so we'll forgive you forgetting. Just like removal, there are a couple installation methods, which will differ based on brand and style.
Either way, make sure you hands are clean so as not to leave residue, dust, or dirt on your iPhone or iPad's screen. This can cause bubbles under your screen protector.
Dry mounting
This method is for tempered glass screen protectors that did not come with a bottle of solution.
- Hold the screen protector and peel off the film on its sticky side.
- Clean your phone's screen with an alcohol pad if the protector came with one. Otherwise, use a lint-free microfiber cloth.
- Very carefully align the screen protector with your iPhone or iPad's screen, making sure you line up the Home button, earpiece, and camera holes.
- Slowly place the screen protector onto your screen, starting from one end and carefully working your way to the other.
- Use a credit card or any application tools that were included with your protector to ensure that it goes on evenly and without bubbles.
- Smooth out any bubbles with a credit card or the installation card that came with your screen protector.
- Starting in the center, push bubbles out toward the edges of your screen with short movements. If you try long pushes, you'll just spread the bubble out under the screen protector. You can also use a microfiber cloth to do this.
- Remove the film from on top of your screen protector. This should reveal a completely clean screen protector.
Wet mounting
This method is for tempered glass screen protectors that come with a bottle of spray solution (usually alcohol) to aid in installation. Some folks prefer applying screen protectors this way, since it cuts down on static and helps prevent dust and hair from sneaking under your screen protector.
- Clean your iPhone or iPad's screen using the spray and a soft cleaning cloth.
- Spray both the front and back of the screen protector, being generous with the spray. This will prevent it from drying up during installation.
- Carefully place the screen protector onto your iPhone or iPad's screen.
- Balance one end on the screen and slowly apply it from one end to the other, using a credit card or the flat of your hand.
- Use the squeegee that comes with wet-mounted tempered glass screen protectors to squeeze the excess solution out from under the screen protector.
- Start in the center and gently push it out toward the edges, making sure to hold onto the protector so it doesn't shift around.
- Leave it to dry for at least half an hour. If you're putting a case on your iPhone or iPad, wait at least a couple hours. This will prevent the screen protector from shifting around and will allow it to fully adhere to your screen.
Keep in mind that during installation, you may have to remoisten the screen protector. It can be rather tedious to line everything up properly and you may have to reapply the spray a few times. Just be patient and careful.
Always remember that if there's any pits or cracks in your tempered glass screen protector, you should replace it, even if they're minor. Glass has a habit of turning minor cracks and pits into major defects.
If you have an iPhone SE and are looking for a great tempered glass screen protector, then check out our favorites. Remember that most brands have screen protectors for other iPhone versions.
How do you do it?
Do you have any secrets for making tempered glass screen protector replacement easy as pie? Share in the comments below!