
How to take photos, selfies, bursts, and more with your iPhone or iPad
- aug
- 30
The Camera app isn't just for taking photos any more. Flash, HDR, timer, selfies, bursts, and more are all just a tap away!
With the Camera app app for iPhone and iPad, you can take photos. You can also take flash photos, high dynamic range photos, timer photos, and selfies. You can even use the volume buttons or a headset remote to trigger the shutter. All that, and more, with just a few taps.
- How to take a photo
- How to use the volume button to take a photo
- How to use a headset to take a photo
- How to take and select 'burst mode' photos
- How to set the flash
- How to enable HDR
- How to set the timer
- How to take a selfie
- How to take a square photo
- How to take a panorama
- How to use live photo filters
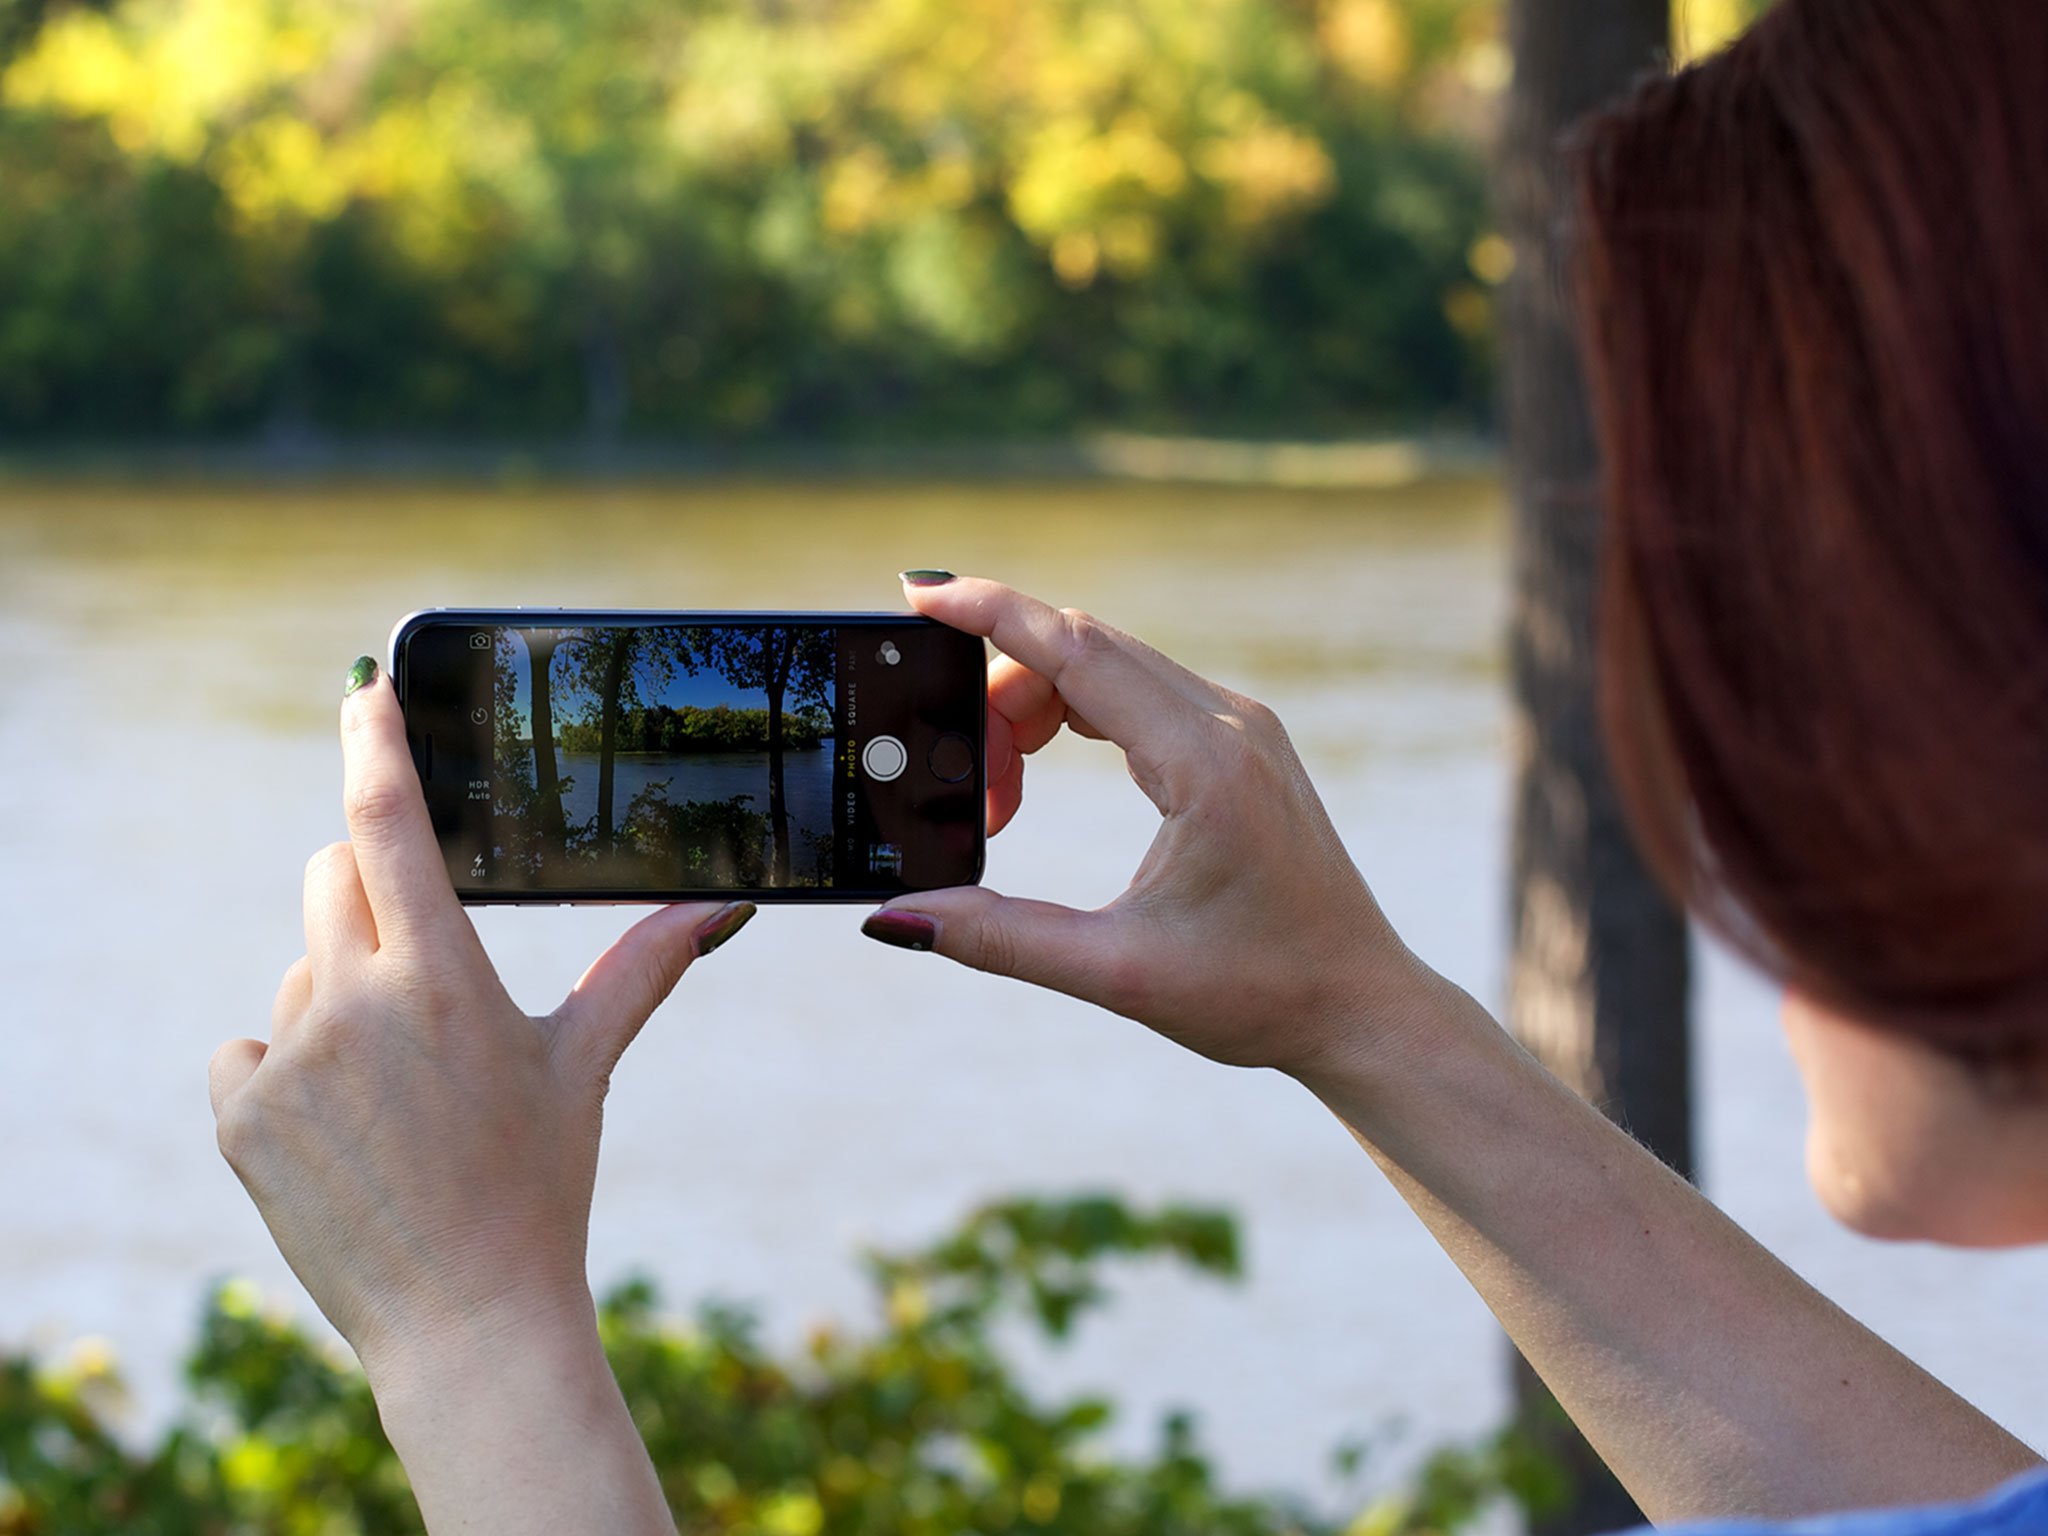
How to take a photo
- Launch the Camera app from your iPhone or iPad's Home screen.
- Tap the Shutter button.
Tap the Thumbnail button at the bottom left to preview and edit your photo.
 Your photo will now be taken and saved to the Camera Roll/All Photos album. You can access it at any time by launching the Photos app.
How to use the volume button to take a photo
If you prefer a hardware button for your shutter, you're in luck. You can snap away with the volume buttons.
- Launch the Camera app from the Home screen.
- Frame the scene you want to take, just like normal.
Press the hardware volume up button to activate the camera shutter and take a picture.

How to use the headphone remote to take a photo
Because many headsets now come with control modules, which include volume up buttons, they can also be used to trigger the camera shutter. If the headset has a long cord, or is wireless, you can use it to trigger the camera shutter over a longer distance.
- Launch the Camera app from the Home screen.
- Frame the scene you want to take, just like normal.
- Press the hardware volume up button on the headset to activate the camera shutter and take a picture.
How to take and select 'burst mode' photos
Burst mode takes a series of photos in rapid succession. It's great for sports and action shots, and even group photos if you want to get everyone with their eyes open.
- Launch the Camera app from your iPhone or iPad's Home screen.
- Frame the scene you want to take, just like normal.
Hold down the Shutter button or Volume button to take a burst of pictures.
 iOS will automatically choose the best photos from the burst. If you don't like photos it chooses, you can choose your own.
Tap on the burst mode stack you want to view.
- Tap on Select... at the bottom.
Tap the blue checkmark on each photo you'd like to keep. When perusing the thumbnails, you'll see a grey dot below the photos with the best focus and composition.

- Tap on Done in the upper right hand corner when you've checked the ones you'd like to keep.
- Tap Keep Everything if you want to keep all the photos in your burst (in case you want to change your mind later) or tap Keep Only [number] Favorites to trash the photos you didn't pick and keep only the ones you did (if you're sure).
The selected photos are now ungrouped and in your photo stream.

How to set the flash on your iPhone or 9.7-inch iPad camera
- Launch the Camera app from your iPhone home screen
- Tap the Flash button
- Set it to On when you want to use it.
Set it to Auto, optionally, if you want to let your iPhone decide when to use it.

How to enable HDR or Auto HDR on the iPhone or iPad
High dynamic range (HDR) merges higher and lower exposures to try and get as much detail in the highlights and shadows as possible. You can choose to turn it on or off, but on modern iPhones it's so fast you might as well keep it on.
- Launch the Camera app
- Tap on HDR at the top.
Choose between On, Off, and Auto.

How to set a timer on the camera for iPhone and iPad
- Launch the Camera app on your iPhone or iPad.
- Tap on the timer button in the top navigation — if you're in landscape mode, the timer icon is on the side.
- Choose either 3 seconds or 10 seconds.
Tap the camera shutter when you're ready for the countdown to start.

On the iPhone, your flash will light up every second and then flash rapidly for the last 3 seconds of the countdown. Once the time ends, your iPhone or iPad will take the photo, in burst mode so you have a good amount of photos to choose from in case someone moves.
How to switch from the rear-facing to front-facing camera on your iPhone or iPad
- Launch the Camera app on your iPhone or iPad.
Tap the Flip camera button in the lower right hand corner to switch between the front-facing FaceTime and rear-facing iSight cameras.
Note: In iOS 9, the Flip Camera button is in the upper right corner.
Tap the Shutter button to capture a photo or start taking a video.

How to take a square photo with your iPhone or iPad
- Launch the Camera app on your iPhone or iPad.
- Swipe left to change modes to Square.
Tap the Shutter button or the Volume button to take your picture.

How to take a panorama with your iPhone or iPad
- Launch the Camera app on your iPhone or iPad.
- Swipe left twice to change modes to Pano.
Tap the arrow button to change the capture direction, if desired.

- Tap the shutter button to start taking a panoramic photo.
- Turn or pan your iPhone or iPad to capture as much of your surroundings as you like. Try to keep the point of the arrow in line with the yellow guide. The app will also give you feedback if you're moving too fast or too slow.
Tap the shutter button again to end the panorama.


The Camera app doesn't currently support full 360º panoramas. You can take up to a 240º panorama in one shot, so keep that in mind. You obviously don't have to use the entire 240º if you don't want to.
How to use live photo filters with the Camera on iPhone or iPad
- Launch the Camera app on your iPhone just as you would to take a regular photo, either from your Lock screen or your Home screen.
Tap on the filter button in the top navigation — it looks like three staggered circles.
NOTE: On iOS 9, the Filter button is in the bottom right corner.
Tap on the filter you'd like to use. You can tap on any of them and then tap the filter button again to change your mind.
- Tap the Shutter button to snap your photo.
