
How to get Faces to sync between multiple computers in Photos for OS X
- maj
- 20
Your Faces album won't sync across your computers — but there's another way to see that collection across your devices.
I like being able to see images of certain family members at a glance — it's helpful for building birthday cards, for instance, or finding great blackmail photos — and it's why I've always loved the Faces feature.
But with Photos for OS X, your tagged Faces won't sync between your Macs — they live, siloed, on the machine where you first tagged them.
This is silly, and something I hope Apple fixes in the next Photos for OS X update. Until they does so, however, you're not completely out of organizational luck: There's a sneaky work-around to get those tagged photos to sync to your other computers.
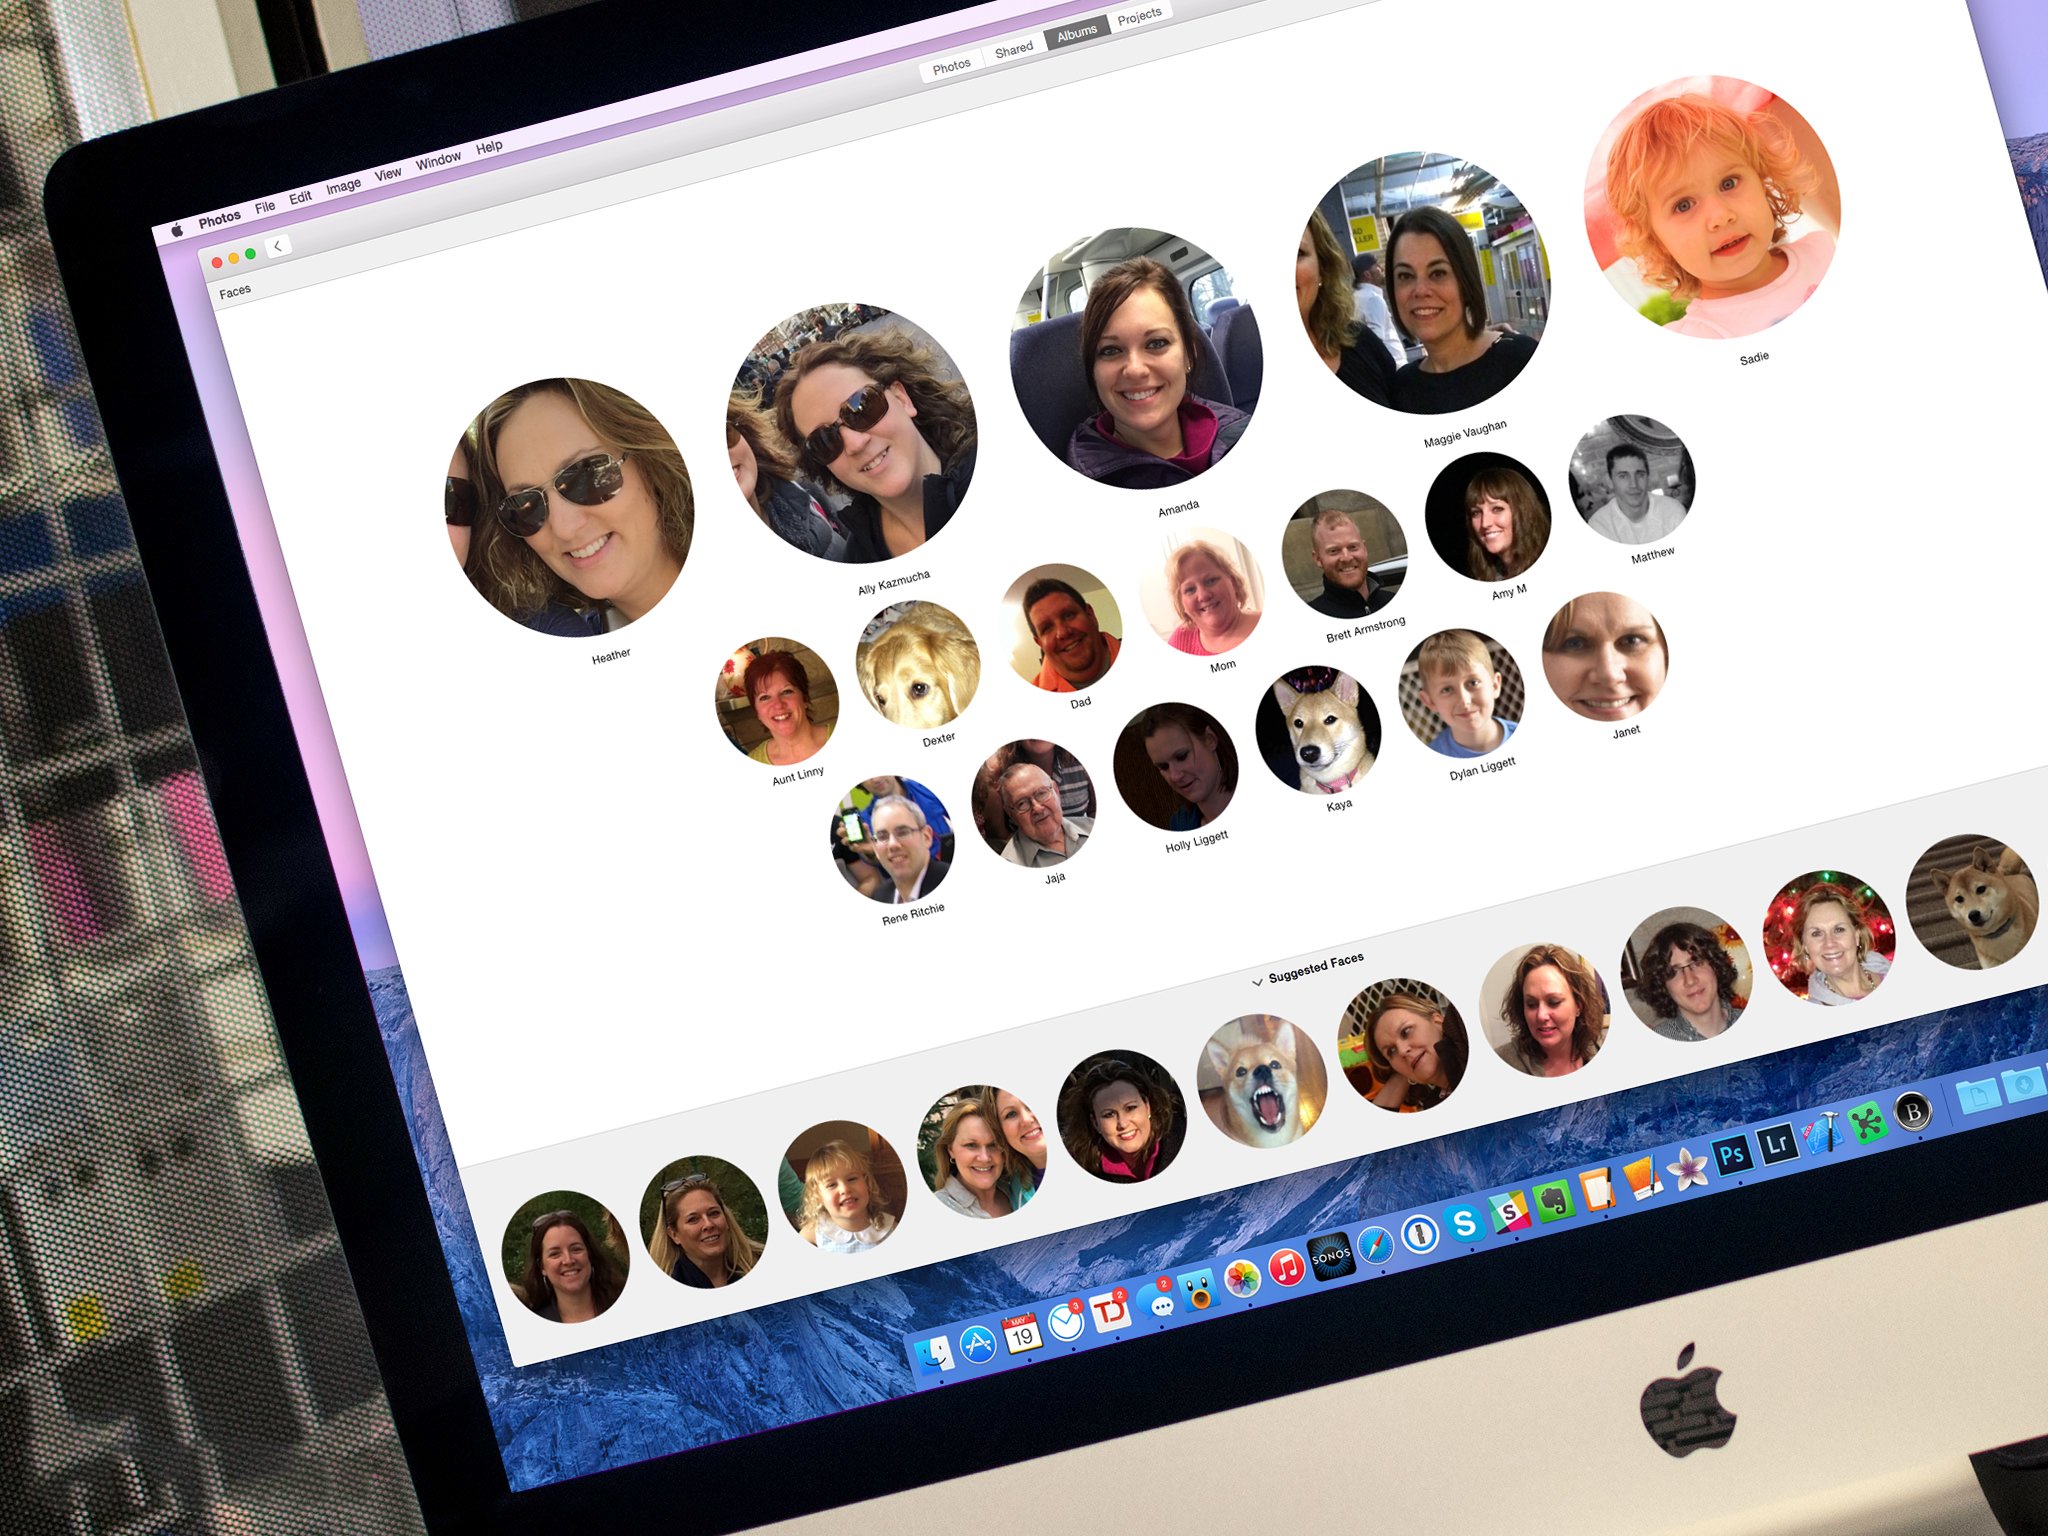
How to sync specific Faces to your other Macs using Photos for OS X
Even though the Faces album won't sync currently, Apple does support cross-Mac syncing for Smart Albums. To get around the lack of Faces sync option, we're going to use Smart Albums and keyword tagging to create individual Faces albums.
- Open Photos for OS X.
- In the Albums tab, open the Faces album.
- Select the Face you want to sync across your Macs.

- Highlight all the photos in that Face sub-album.
- Go to Window > Keyword Manager (or press Command-K on your keyboard).
- Click on Edit Keywords.
- Click on the plus (+) button to add a new keyword; type in the name of the person you wish to create an album for and press OK.

- In the Keyword Manager, click on that person's name. All your highlighted photos will now get that keyword.
- Close the Keyword Manager and click the plus (+) button in the toolbar.
- Select Smart Album from the list.
- Name the smart album "Faces: [name of person]" and select the following conditions: Keyword is [name]. Press OK.

- When you go back to the Albums tab, you should see your smart album appear; it will then sync to all your other iCloud Photo Library-supported Macs.
You can repeat this sequence for any other faces you'd like to add; adding every face in your collection might take some time, but it's a nice shortcut for the faces you might want to access most often.
Additionally, any time you add new photos to your Faces collection, just remember to repeat steps 5 and 9 within the Faces sub-album to get them to sync across computers.
What about the iPhone and iPad?
Unfortunately, this work-around will only show up on your computers; the iPhone and iPad currently don't support smart albums. If you really want to see your Faces on iOS, however, you can follow these additional steps.
- Once you've created your Smart Album, highlight all the photos within it.
- Press the plus (+) button and select Album.

- Name the album "iPhone Faces: [name]"
That album will then sync to your iOS devices; if you add any new photos, however, you'll have to update it manually by deleting all photos in the album and re-adding them from your Smart Album.